
In this post, I will guide you through the process of deploying Large Language Models (LLMs) on your personal computer and setting up a simple chatbot within one hour. This tutorial requires no advanced expertise in AI/ML or Python programming, familiarity with basic concepts is sufficient. We will cover everything from configuring the virtual environment to launching the web based User Interface (UI), providing a comprehensive, step-by-step guide along the way.
In this example I will create a Source code generation application using a powerfull and lightweight code specialist LLM called CodeGemma. So Let’s get started.
Ollama - Serve Large Language Models (LLMs)
What is Ollama?
Ollama is a platform designed to facilitate the local deployment of Large Language Models (LLMs), offering an alternative to expensive cloud based solutions. It provides a comprehensive models library, featuring a wide range of opensource models. Once a model is deployed, Ollama exposes a REST API for efficient communication with the model. Additionally, Ollama supports multiple operating systems, including macOS, Linux, and Windows, with native support for these platforms. There are also methods available to run Ollama on mobile devices, extending its versatility for various use cases.
Why Ollama?
There are lots of tools available to deploy LLMs locally, but Ollama is simple and easy to setup. I will list down few other tools available
- llama.cpp - https://github.com/ggerganov/llama.cpp
- gpt4all - https://github.com/nomic-ai/gpt4all
- MLC LLM - https://github.com/mlc-ai/mlc-llm
- llamafile - https://github.com/Mozilla-Ocho/llamafile
Getting Started with Ollama
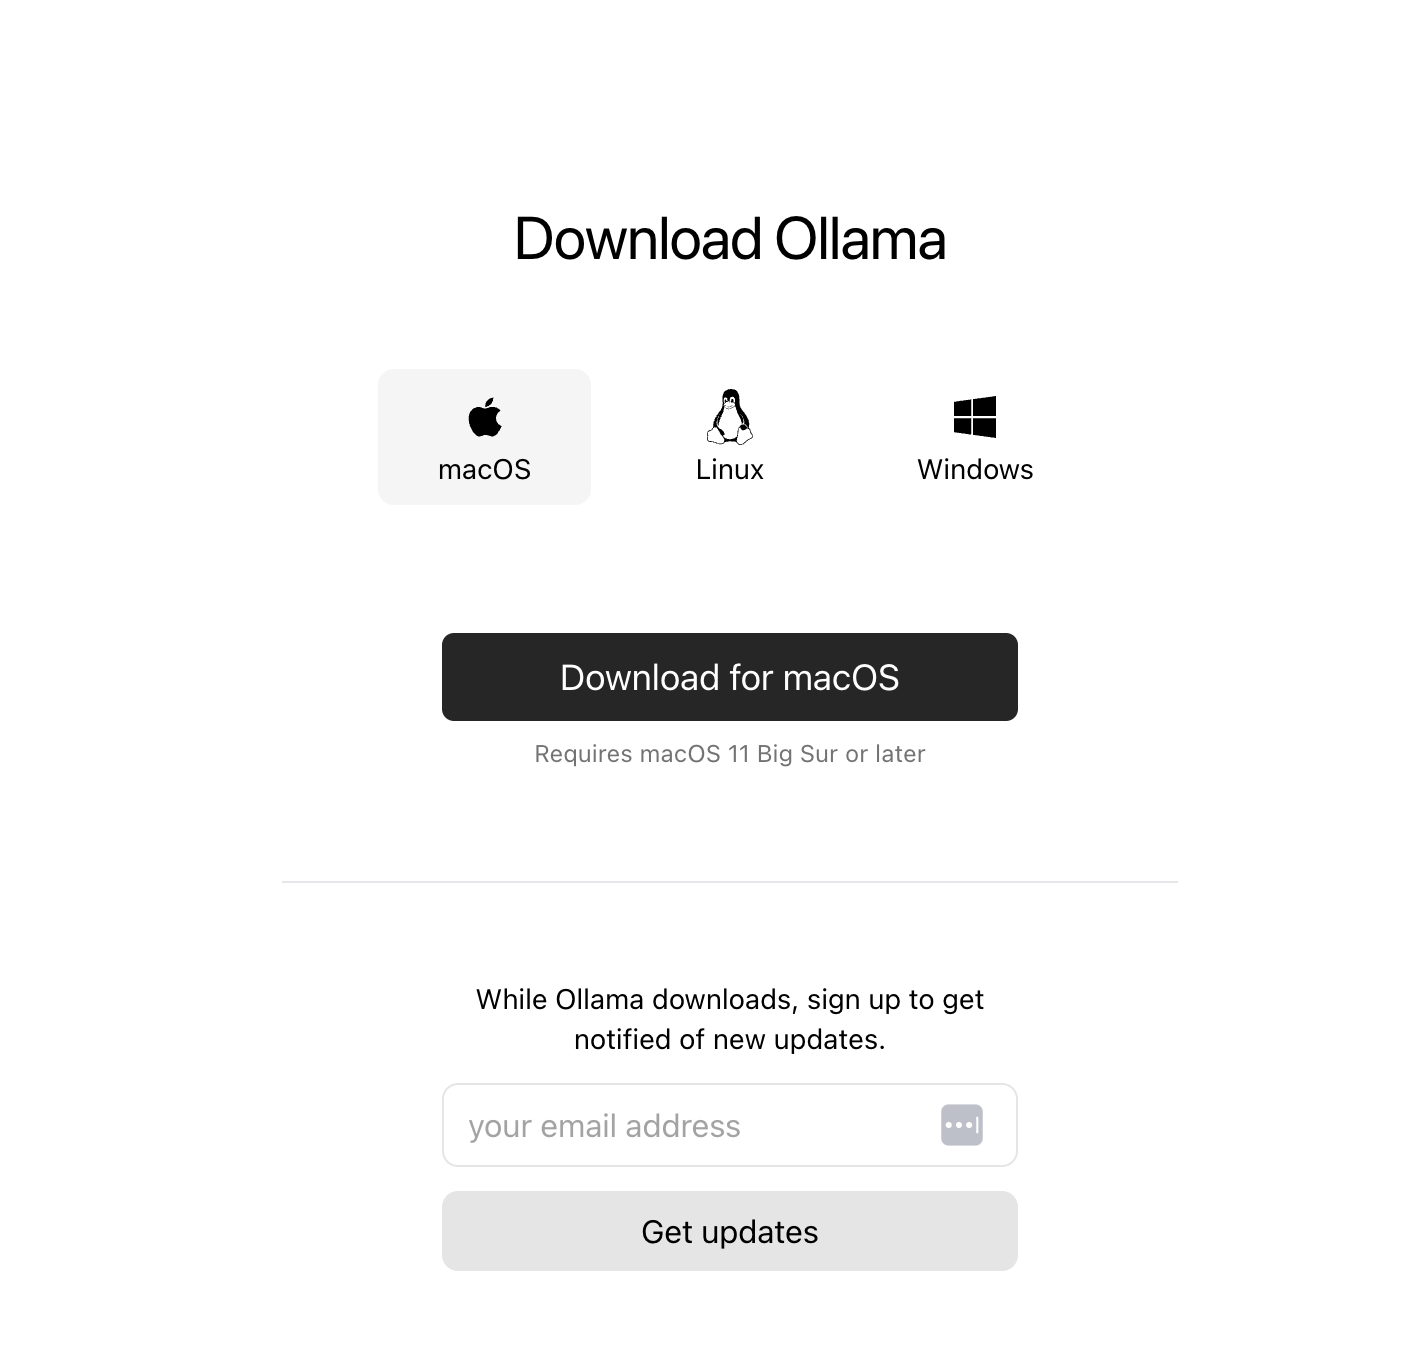
Step 1: Download and install
Download the installation package from here and install the application depending on your Operating System.
Step 2: Run the model
We will run the codegemma:7bmodel which is only 5.0 GB of size. For running you need to open a terminal and run bellow command
| |

Step 3: Verify model using Ollama REST API
Run below curl request on the terminla and you will be able to see the response.
| |
Web UI - Chat with Large Language Models (LLMs)
Python Virtual Environment
There are several tools available for managing Python virtual environments, which facilitate seamless dependency management and prevent conflicts arising from system wide package installations. These tools allow for the isolation of dependencies, ensuring that each project operates within its own environment, thus avoiding potential issues with versioning or compatibility across different projects.
- venv - Python inbuilt module https://docs.python.org/3/library/venv.html
- Miniconda (preferred) - Liteweight python distribution https://docs.anaconda.com/miniconda/
Install, Create and Activate a virtual environment
- In this I will be using Miniconda and the installation steps can be found here.
- After installation we can create a virtual environment using
conda create -n ENV_NAME python=3.9and changeENV_NAMEto your prefered name.- After creation it will prompt your to activate the environment
conda activate ENV_NAME.
Web Application
Download source code
You can find the source code in github repository
Install Dependancies
| |
Run Web UI
| |